您现在的位置是:首页 > cms教程 > Ecshop商城教程Ecshop商城教程
ecshop详细页面颜色尺码等规格和库存相连动的实现方法
![]() 王悟营2023-11-14Ecshop商城教程已有人查阅
王悟营2023-11-14Ecshop商城教程已有人查阅
导读上一次我发表了改变商品详细页面属的样式但是在点击每个属的时候库存不根据属的改变而变化现在我们来完善它实现联动库存
上一次我发表了改变商品详细页面属的样式但是在点击每个属的时候库存不根据属的改变而变化现在我们来完善它实现联动库存
一、先下载test.gif文件
二、添加css文件找到style.css
三、添加循环文件,找到goods.dwt文件
找到:


一、先下载test.gif文件
二、添加css文件找到style.css
.catt{width: ;height:auto;overflow:hidden;padding-bottom:5px;}
.catt a{border: #7E7E7E 1px solid; text-align: center; background-color: #fff; margin-
left:5px;margin-top:6px;padding-left: 10px;padding-right: 10px;display: block; white-space: nowrap;
color:#000; text-decoration:none; float:left;}
.catt a:hover {border:#ED0036 2px solid; margin: -1px; margin-left:4px;margin-top:5px;}
.catt a:focus {outline-style:none;}
.catt .cattsel {border:#ED0036 2px solid; margin: -1px;background: url("images/test.gif") no-repeat
bottom right; margin-left:4px;margin-top:5px;}
.catt .cattsel a:hover {border: #ED0036 2px solid;margin:-1px;background: url("images/test.gif") no-
repeat bottom right;}
三、添加循环文件,找到goods.dwt文件
找到:
<!-- {foreach from=$spec.values item=value key=key} -->
<label for="spec_value_{$value.id}">
<input type="radio" name="spec_{$spec_key}" value="{$value.id}"
id="spec_value_{$value.id}" {if $key eq 0}checked{/if} onclick="changePrice()" />
{$value.label} [{if $value.price gt 0}{$lang.plus}{elseif $value.price lt 0}
{$lang.minus}{/if} {$value.format_price|abs}] </label><br />
<!-- {/foreach} -->
替换为:
<!-- {foreach from=$spec.values item=value key=key} -->
<a {if $key eq 0}class="cattsel"{/if} onclick="changeAtt(this,{$value.id},{$goods.goods_id})"
href="javascript:;" name="{$value.id}" title="[{if $value.price gt 0}{$lang.plus}{elseif $value.price
lt 0}{$lang.minus}{/if} {$value.format_price|abs}]">{$value.label}<input style="display:none"
id="spec_value_{$value.id}" type="radio" name="spec_{$spec_key}" value="{$value.id}" {if $key eq 0}
checked{/if} /></a>
<!-- {/foreach} -->
四、添加js文件:
function changeAtt(t,a,goods_id) {
t.lastChild.checked='checked';
for (var i = 0; i<t.parentNode.childNodes.length;i++) {
if (t.parentNode.childNodes[i].className == 'cattsel') {
t.parentNode.childNodes[i].className = '';
}
}
t.className = "cattsel";
var formBuy = document.forms['ECS_FORMBUY'];
spec_arr = getSelectedAttributes(formBuy);
Ajax.call('goods.phpact=get_products_info', 'id=' + spec_arr+ '&goods_id=' + goods_id, shows_number,
'GET', 'JSON');
changePrice();
}
function shows_number(result)
{
if(result.product_number !=undefined)
{
$('shows_number').innerHTML = result.product_number+'件';
}
else
{
$('shows_number').innerHTML = '未设置'
}
}
五、添加php文件代码打开goods.php,大约在71行下添加一下代码
if (!empty($_REQUEST['act']) && $_REQUEST['act'] == 'get_products_info')
{
include('includes/cls_json.php');
$json = new JSON;
// $res = array('err_msg' => '', 'result' => '', 'qty' => 1);
$spce_id = $_GET['id'];
$goods_id = $_GET['goods_id'];
$row = get_products_info($goods_id,explode(",",$spce_id));
//$res = array('err_msg'=>$goods_id,'id'=>$spce_id);
die($json->encode($row));
}
OK更新一下缓存现在我们就实现了商品样式的改变和库存的联动
感谢您的认可和支持
微信
支付宝
本文标签:
很赞哦! ()
相关教程
图文教程

在ecshop头部调用会员消费积分的方法
有人问 在 ECSHOP的会员登录区,也就是 ECSHOP头部,如何调用会员的消费积分呢。其实很简单,只是修改下ECSHOP模板就可以了。
ecshop源码函数分析
tatic_caches缓存文件存放在ecshop/temp/static_caches下面先来看缓存工作的2个主要函数,写缓存和读缓存。该函数在ecshop/includes/lib_base.php
ecshop添加新增设置模板页面步骤
第一步: 把根 目录 下 category.php 这个 文件 多一个文件,文件名自己起吧,我就以category2.php为例 同样的方法打开themes\default文件夹
在ecshop商品游客发表评论取消E-MAIL必填的方法
ECSHOP的商品详情页,在用户提交评论的时候,那个“E-MAIL”输入框默认是“必填”的。如果我想改成“E-MAIL非必填”或者干脆“删除这个E-MAIL输入框”
相关源码
-
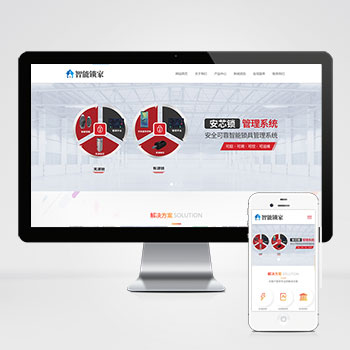 (自适应手机端)锁锁芯锁具网站pbootcms模板 智能防盗锁网站源码下载本模板基于PbootCMS系统开发,为智能锁具、防盗锁芯及相关安防产品企业设计。采用响应式布局技术,确保在手机、平板和电脑等不同设备上都能获得良好的浏览体验,数据实时同步更新。查看源码
 -
 (自适应响应式)高端简繁双语HTML5金融资本咨询单页pbootcms模板采用响应式设计确保在各类手机端设备很好的呈现。该模板专注于金融咨询、资本管理等领域企业形象展示,通过结构化布局突出行业专业度与可信度,后台数据同步管理简化内容维护流程。查看源码
 -
 (PC+WAP)绿色环保建筑设备通用行业pbootcms源码下载通过模块调整可适配园林景观、装配式建筑、绿色装修等生态建设相关领域。预制绿色建材展示、能耗模拟等专业模块,集成项目案例、环保工艺等建筑行业特色内容结构,测试数据包含LEED认证体系查看源码
 -
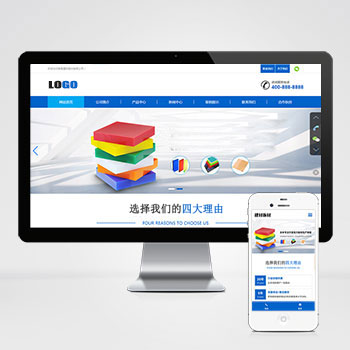 (自适应)蓝色建材亚克力板材装饰材料pbootcms网站模板这款基于PbootCMS开发的响应式模板为建材板材行业优化设计,适用于亚克力板材、建筑装饰材料等企业展示需求。采用HTML5技术实现手机/PC跨终端适配,管理员通过统一后台即可同步查看源码
 -
 (PC+WAP)绿色硅胶橡胶玩具制品营销型网站源码下载为硅胶橡胶制品及玩具行业打造的营销型网站模板,采用PbootCMS内核开发,通过模块化设计实现产品参数、安全认证、应用场景等专业内容的可视化呈现,助力企业建立可信赖的线上展示平台。查看源码
 -
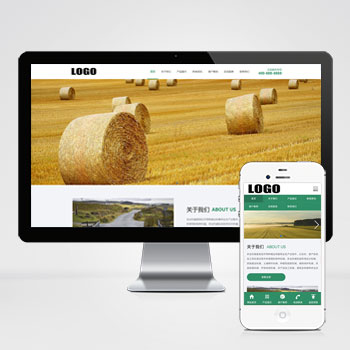 (自适应)绿色农业机械设备农场网站源码下载为现代农业机械领域打造的响应式网站模板,采用PbootCMS内核开发,数据实时同步后台管理。通过简洁大气的视觉设计,有效展示农机产品技术参数与应用场景,帮助客户快速建立专业数字化形象。查看源码
| 分享笔记 (共有 篇笔记) |